Support the Work

If you have found the information on this blog useful, enjoyable, candid, or inspirational ... help keep it reader supported, journalistically driven, available to all, and advertiser-free. If you are able and inspired to do so, please consider a subscription to this blog. You can drop a dime or two every month, every year, or whenever you feel moved.

It will keep me writing, gathering facts, and interviewing the experts.

Love,

Elisabeth

CLICK HERE TO SUPPORT THE WORK

Parent / Sponsor


NEED TO FIND SOMETHING?
Join The Email List

Get Tastiness to Your Inbox

* indicates required

A blog about all things allergen-free and delicious

Entries in soy-free desserts (2)

Tuesday
Feb042014

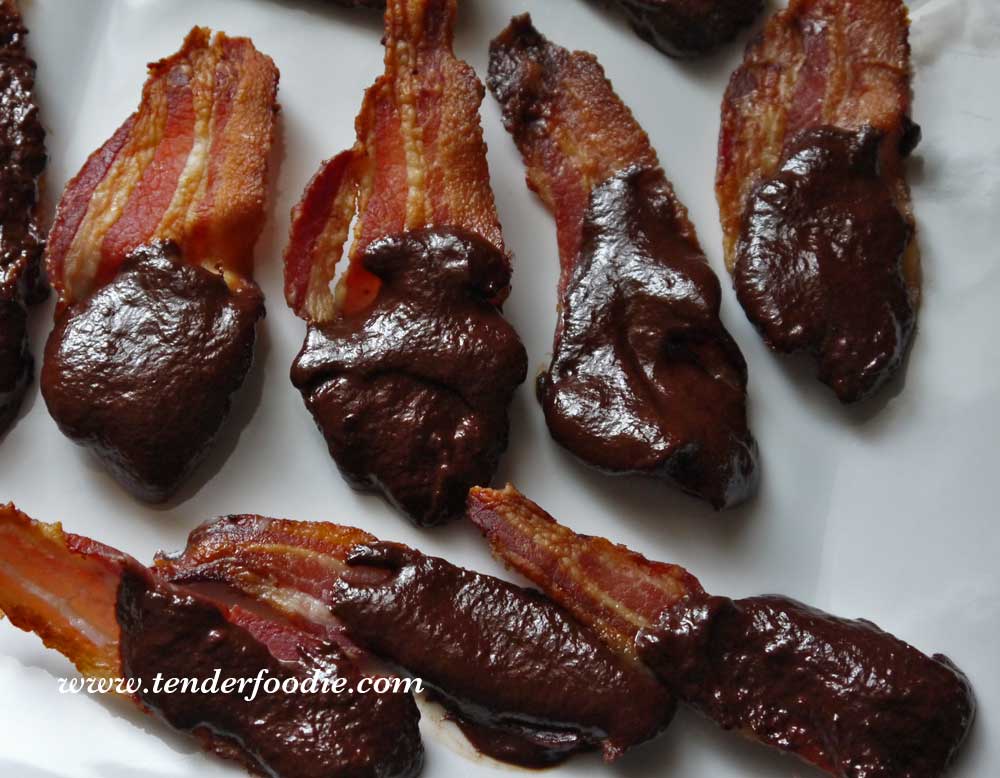
Honey-Infused Chocolate Covered Bacon (using raw cacao)

In the last post, we learned that yes, you can cook bacon naked, and without peril to your naughty bits, if you simply cook it in the oven. It's easy, saves time, does not splatter, and this method helps you save or toss the grease without mess. For this chocolate-covered bacon recipe, you need evenly cooked bacon that stands at attention, so using the oven is the best way to acheive this.

We've also learned that bacon can stop an argument on a dime, just by its mere mention. If this legend is indeed true, then chocolate covered bacon will one day bring about world peace.

For those of you who have removed cane or beet sugar from your diet, the ganache for this recipe is made from honey, and you will love it.

Ingredients

Here is what you will need:

(Double this recipe for 1 lb of bacon. If using more than one pound, make the ganache in batches for 1 lb of bacon at a time)


 Recipe

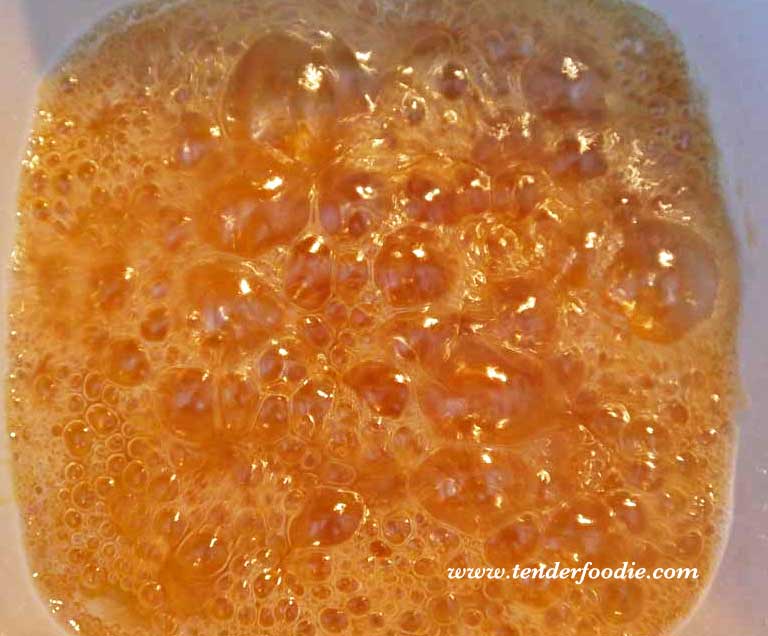
In your small saucepan or stove-safe ceramic dish, bring the coconut oil and honey to a boil by placing the burner on high. It will start to bubble like this:
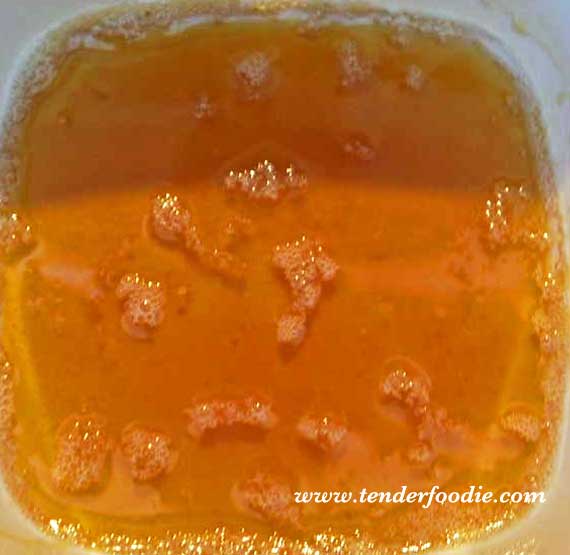
 

Keep the pan on the stove until the honey and oil come to a full boil like the picture below. Let it boil for 30 to 45 seconds. No more than 60 seconds as you do not want this to burn. When cold, the ingredients will be separated, but after boiling they will come together and make a sort of caramel.


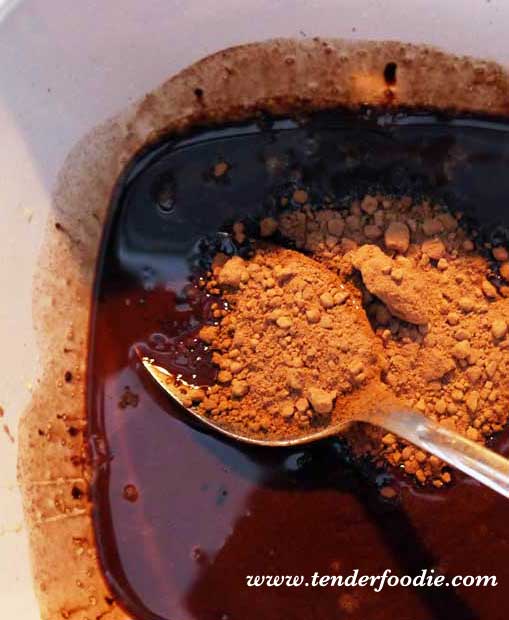
Let the honey and oil mixture cool for 5 minutes. If you place the raw cacoa powder in too early, you may burn it. The mixture should be warm but not hot. When at the right temperature, slowly add in the raw cacao powder a little at a time, stirring to completely incorporporate the chocolate/cacao into the mixture. Keep adding until you get the proper spreading consitency. You will get the right consistency somewhere between 1/8 and 1/4 cup of cacao. I like it a little thicker (so I use almost the entire 1/4 cup), you may like it a little thinner. If you don't use it all, return the extra to the package to use later!
 

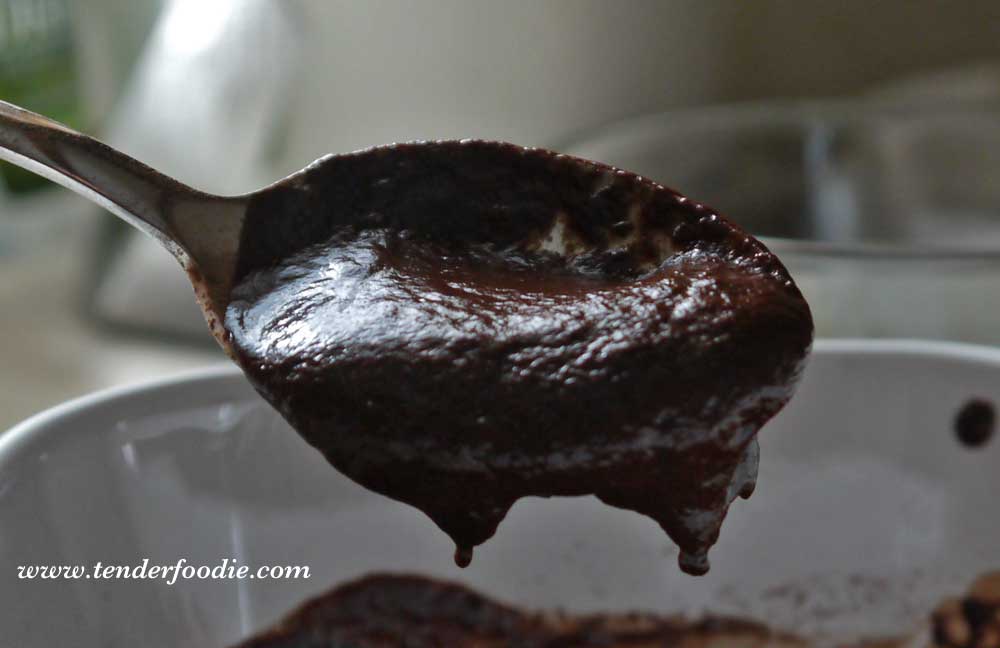
The consitency of the chocolate mixture will look something like this. It will slowly drip off of the spoon, and will be easy to spread.  
 

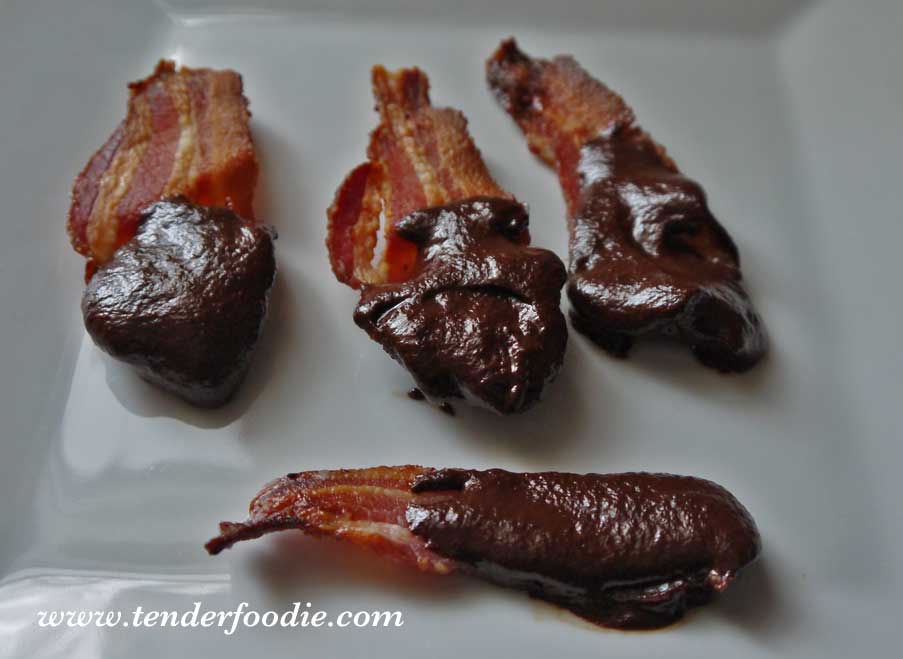
Lastly, break the cooked bacon strips in half and using a spoon, spread the chocolate onto one side of the bacon, half way up the strip. Make it a nice thick coat, using the bacon like a spoon. Chocolate lovers can put the chocolate side down on their toungue, while bacon lovers may put the bacon side on their toungue. Each will give you a slightly different experience. Covering one side also helps make the bacon look good on the plate right away. You don't have to use a separate plate to wait for the chocolate to harden and then waste a bunch of chocolate on the plate.

After it hardens a bit, place in the refrigerator, covered, for an hour or overnight. Served best chilled.

Enjoy!  (and have the leftovers for breakfast, seriously).


Monday
Feb112013

Recipe: Almond Cognac Truffles


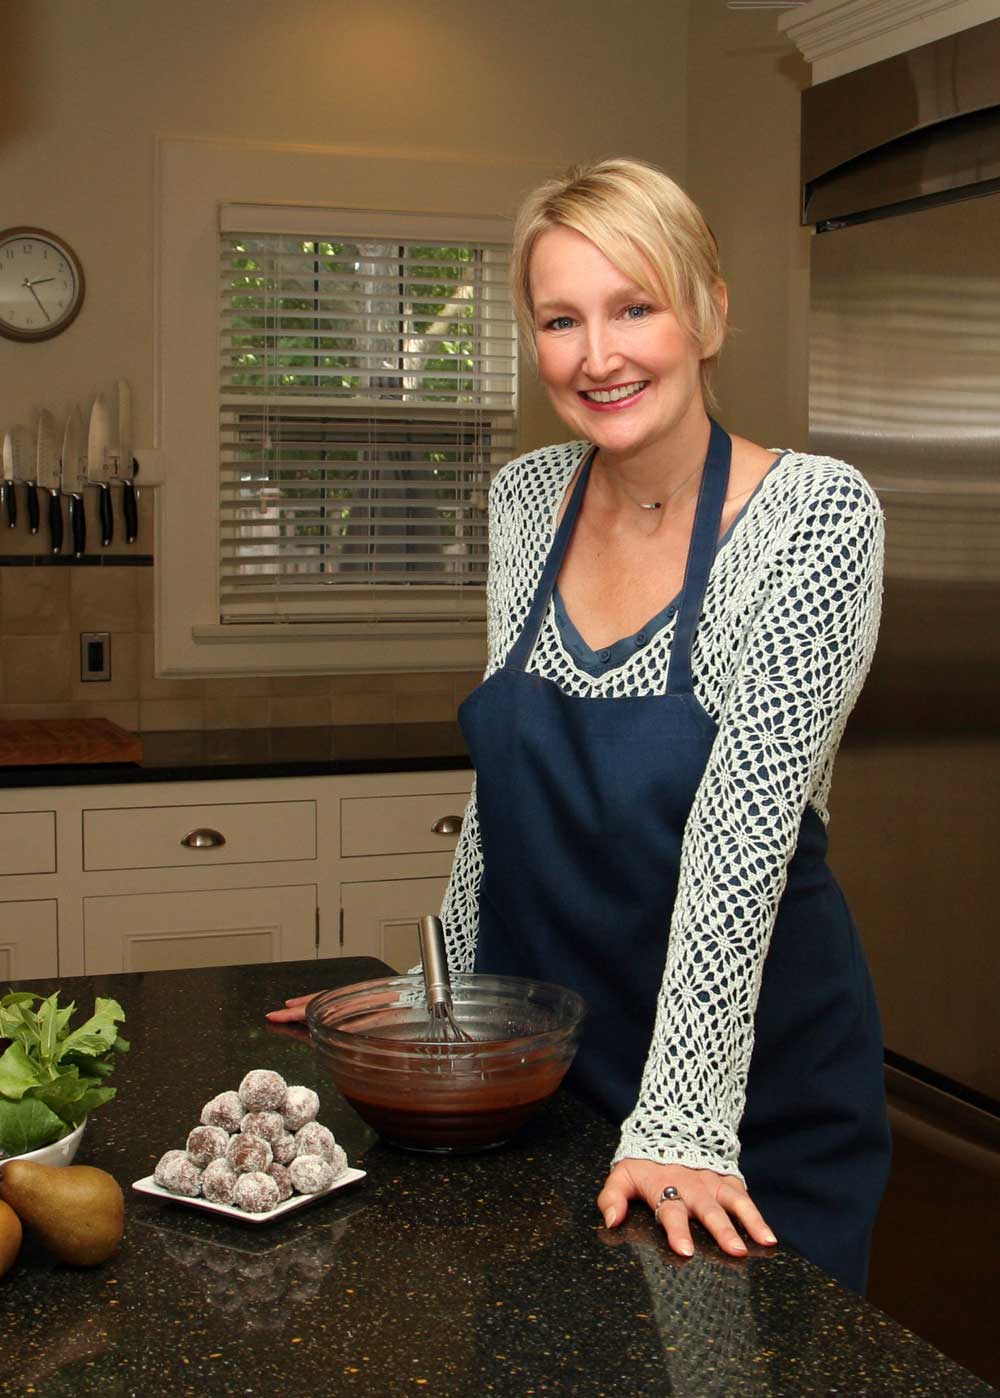
 PHOTOGRAPH COURTESY OF JEFF HAGE, GREEN FROG PHOTO


BY ELISABETH VELTMAN, THE TENDER FOODIE

What would Valentine's Day be without chocolate?  It would be the day I made the front page of the New York Times ("Single Gal Sets Hallmark Store on Fire").  My love affair w/ this beautiful bean began many moons ago, and has evolved to accommodate the onset of dairy and now, tapioca allergies (tapioca is used in place of soy lecithin in soy-free chocolate). Thanks to a few forward thinking chocolatiers, there are truly dairy-free, even soy-free choices out there, the quality of which, make excellent truffles.

Truffles, in my opinion, are the quintessential gift, though I do confess that these don't always make it to the intended recipient.  This recipe is my favorite.  It combines a soft, sensuous center that leaves you a little buzzed, cupped by a hard chocolate shell waiting to be snapped.  Yeah, they taste as sexy as they sound. Go forth Lovers, make them, eat them, and be ... inspired.


RECIPE:  ALMOND COGNAC TRUFFLES

Dairy-free, Gluten-free, Soy-free, Egg-free
Copyright, Elisabeth Veltman, The Tender Palate

INGREDIENTS

10 oz. of dairy-free bittersweet chocolate – chopped in small chunks for the ganache
6 more oz. tempered for the ganache (see below)
8 more oz. tempered for the coating (see below)

Recommended brands:  Enjoy Life Bittersweet Chocolate Chunks (made w/o soy, but w/ tapioca)  or Callebaut Bittersweet Chocolate (made w/ soy lecithin)

½ cup of coconut cream (measured after the fat is stirred in)
    (Recommended Brand: Thai East Coconut Milk)

1 TBS of coconut oil (melted)

2 tsp. of almond extract (gluten-free)

4 TBS of cognac (pure distilled)

½ cup of granulated sugar (for sprinkling)


MAKE THE GANACHE

Place 10 oz. of chopped chocolate into a medium-sized bowl. In a small saucepan, bring the coconut cream just to a boil and immediately pour over the chocolate chunks.  Add the coconut oil.  Shake to evenly coat, and then cover the bowl with a plate to seal in the steam.  This will melt the chocolate.  Ignore for 10-15 minutes, and then whisk the mixture vigorously until there are no lumps and the chocolate has a lovely shine to it.  Whisk in the cognac and the almond extract.  

Temper 6 oz. of chocolate: As you wait for ganache to melt together (above), place 6 additional oz. (3/4 c.) of chocolate chunks into a Pyrex* measuring cup and place into the microwave for 20 seconds.  Stir, even if the chunks aren’t melted yet.  Place the chocolate back into the microwave for 20 more seconds, and then stir again.  Repeat this until the chocolate melts at 15-second intervals.  When all of the chocolate is melted and stirred, you have tempered chocolate.  This will add to the texture of the truffles.  Add this to the Ganache and whisk until the shiny again.

At this point, place your ganache, covered, in the refrigerator to firm up for an hour or over night.  

*Use the Pyrex brand of measuring cup, since it conducts heat evenly.  Some containers will burn the chocolate in the microwave.

ROLL & COAT

Temper another 8 oz. of chocolate chunks in the microwave, using the same method above, but set aside.  

Remove the ganache from the refrigerator.  If it is too hard, simply let it sit for 30 minutes.  With a small melon baller, tiny ice cream scoop, or a spoon, scoop out the ganache and roll in your hands to make a small, round ball.  Continue until the ganache is all balled up.  Place each ball on a plate with an inch of space around each one.  The carefully spoon the last batch of tempered chocolate over the top of each ball so that it seeps over the top and down the side and creates an upside down cup.  Place the plate(s) of truffles in the refrigerator to set for about 30 minutes.  When the chocolate is set (the outer coating will be hard, and the filling will be firm but soft) turn each truffle over and sprinkle the ganache filling with sugar.  

Serve cold or at room temperature.  Best to store covered in the refrigerator.


About the Author


Writer, owner of Blue Pearl Strategies, and lover of all culinary delights, Elisabeth is a Tender Foodie. She started The Tender Palate, a website for foodies with food allergies where she consults with experts from every area of the Tender Foodie life. She believes that everyone should live deliciously and have a healthy seat at the table. Find her at www.tenderpalate.com.